Monday, July 13, 2015

60th Birthday Surprise

When my Mom's 60th birthday rolled around, I knew it was my chance to give her a glimpse (albeit a small one) into how awesome I think she is...

My parent's bought a beach house last year- something they have been dreaming of doing since they met in high school... (cue the "awwws"). They have been renovating for the better part of 6 months, and in this past month, the month of her 60th, it turned the corner from construction zone to (almost done) beautiful home.

My sister and I talked at length about throwing her a surprise birthday party at the beach house - a "new chapter" kind of thing; however, my Mom was adamant about not wanting a party- she made that loud and clear...over and over again.

So, when the day actually rolled around, we wanted to honor her "no party" wish, but be sure that her day/weekend was extra special...I think we were successful.

The week before her birthday I sent the email below to all of her family and friends:

Almost everyone responded within a day or two- It was so much fun reading the responses. I am still laughing at the consistency - it is very obvious that I am not the only person who loves how much fun my mom is- she is a great drinking partner, makes everyone laugh, and is as selfless as they get!

I used Sharpie markers and a roll of white kraft paper to capture everyone's accolades, memories, and the like:
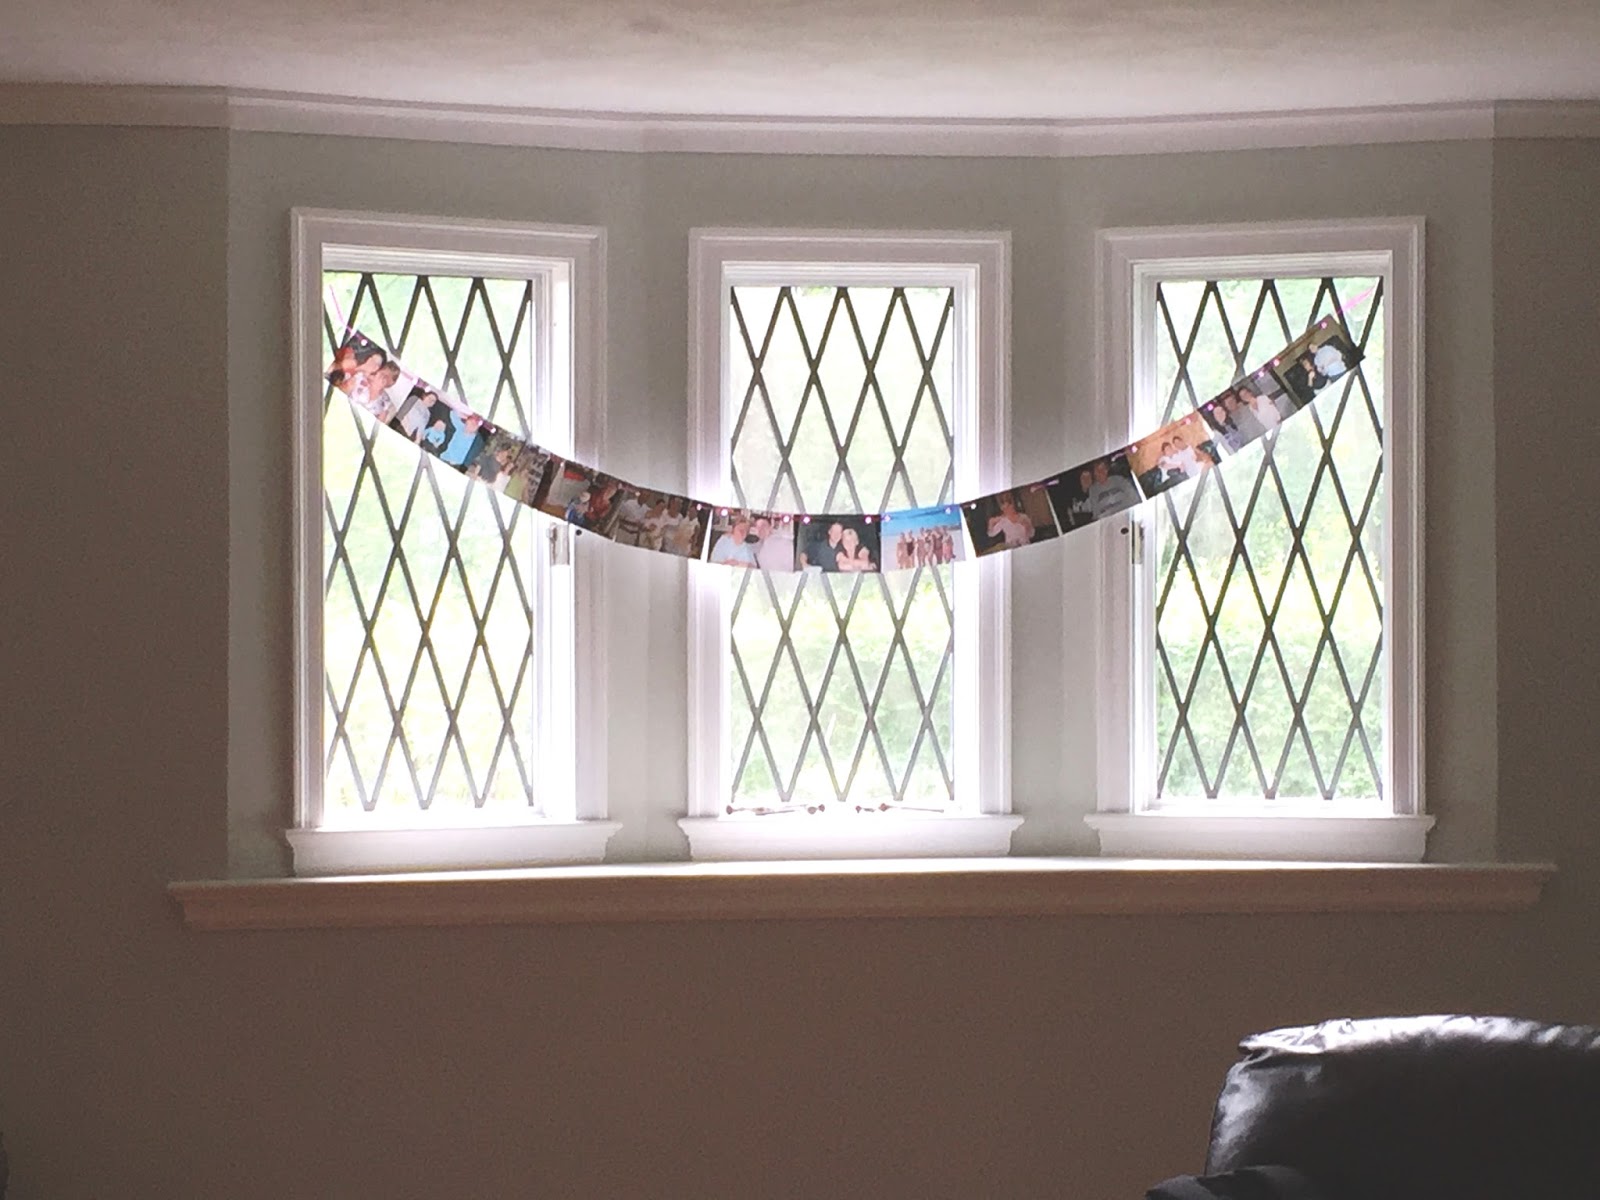

Without her knowing, I headed to the beach late Thursday night in anticipation of her arrival on Friday morning. It took until 2am to complete, but the look on her face when she walked into this:


Was priceless....


A birthday celebration would not be complete without a cake, right?
Given the significance of my parent’s new beach house,  I wanted  my mom’s birthday cake to be “beach-themed". Hours of Pinterest browsing lead to this… 
Ridiculous, right?! It was a 2+ hour challenge and turned out looking more like a cake for a 6 year old than one for a 60 year old.... at least it tasted good!

My DIY creations ended here, but I do want to give a big shout out to a woman named Susan Windsor. My sis and I came across Susan's shop on Etsy.com and knew right away that she would create the perfect, "sentimental gift that's not a surpise party" gift. A few weeks after my mom's birthday, this painting showed up at her door....


Happy Birthday Mom- You deserve the world and more. We love you!


Monday, June 22, 2015

Bridal Showers, Weddings, and Birthdays oh my!

The first half of my 2015 has been filled with "milestone" celebrations... bridal showers, baby showers, weddings, and birthdays have booked my weekends solid. Not only have I been able to spend more time with the people I love most, but I have also had an excuse go on a DIY frenzy...

I have a tendency to bite off more than I can chew when I am presented with DIY opportunities - I find myself saying things like  “of course I will make all of the invitations by hand!” or “ I'll make 50 glass tags – no big deal at all!” – But when push comes to shove, the reason I commit to all of these crazy projects is because I love making my loved ones feel loved (sappy, I know). With that being said, I had to be rather strategic with my decorations for all of these events, both from a budget stand point and a size standpoint- transporting center pieces on a Bolt Bus from NYC to Connecticut was simply not an option.

My next few posts will highlight a few of the things I made for a few of my favorite people in the last 6 months…First up, my cousin Carly's bridal shower that was held at my parent's house.

Invitations
Despite what I mentioned above, I opted to order the shower invites from minted.com rather than make them- not only do they offer a gigantic selection, they really let you flex your creative muscles when it comes to designing the final product. 
Carly's wedding inspiration was rustic yet feminine- I wanted to make sure that her shower felt the same way all the way down to the invitations. Below is a snap shot of what all the invitees received in the mail....


Decorations:
I wanted to keep it simple and personal. 
Carly and her new husband, Andy,  have been together for quite some time, and so most of their story can be told through pictures...with 6+ years worth of facebook photos and a very sweet email response from Andy it was easy to come up these gems:


As you can probably tell from the photos above, I wasn't kidding when I said that I committed to making over 50 drink tags...each had a different floral pattern and each  had a different "wedding" word...


And whats a bridal shower without  "days to go" and "bride-to-be" signs ?!


A few more for your viewing pleasure!


Sunday, March 29, 2015

Hemnes Hack- Part One

Things our apartment has: a great location (+), a renovated kitchen(+), a horrible layout(-) , and two people living in 300 sqft (-)...we clearly like each other...(+).

Things our apartment doesn't have: closet space (-) (remedy found here), a couch (-), a place to work/study (-), any extra storage space what-so-ever (-).

So when Mr. Landlord asked if we'd be renewing our lease, our first instinct was a resounding no. However...

Moving is a royal PITA. Not to mention disgustingly expensive. Did we really want to pack everything in our current apartment up only to move a few streets away and into a place that would likely be just a smidgen larger than our current apartment? The answer: a resounding NO! (clearly a "no" with more umph than the one above)

And so, I put my dusty DIY hat on and  whipped out my tape measure. I, my friends, was determined to craft something that would make our space at least a little bit more functional.

Here is a photo of our living area pre-Hemnes Hack. Cute? Sure- but, in reality, the space was looked at more than it was utilized...which when you live in a space as small as ours is a really big waste o' sq ft.

The space is long and narrow making it really difficult to define different areas (office area/living area, etc)- I knew that my solution had to be multi-functional: in my dream world it would offer comfy seating, an area to work and eat, and would provide extra storage- dream on, right? Wrong!

It just so happens that Ikea's Hemnes TV Shelf is 72 inches long- the same length as the area I was working with- it is a mere 18 inches wide and the height of a standard bench....oh, and it has 3 deep drawers along the bottom. Jackpot.

The Ikea in Brooklyn wanted to charge me $229 for the unit + $175 shipping (they are the ones who should dream on), and so, I became obsessed with craigslist and krrb....searching for "hemnes" morning, noon, and night. After may hemnes-less days, the "no-results" message turned into "1 result"...  1 hour and $100 dollars later, she was all mine.

As you can tell from the below, my plan was pretty sophisticated...Color coded and all.
In all honesty, I knew what I wanted the finished product to look like, but really had no idea how to execute it.

It wasn't without numerous expletives, but my vision ended up a reality. Take a look at our new work/dine/store living area below.


Saturday, January 3, 2015

Merry Christmas Frankie. With Love, Auntie Jenna

It took a lot of self restraint not to post about the gift that I made my nephew, Frankie, for Christmas before today... But, let's face it, a gift for a one year old is really a gift for his/her parents... fortunately my sister and brother in-law support me enough to read my blog... unfortunately, they are the reason why you are just reading about this DIY project now. The idea to make Frankie's gift struck me while I was running a few errands around the city. I happened to pop into Home Depot (shocking, right?!) and made my way to the "Oops paint section." If you've read this blog from its inception, you know that I am a big fan of the Oops section. During this particular trip to the Depot, I found a pint of vibrant blue paint for $0.50. Yes, fifty measly cents.
Not sure what I was going to use this pint o' paint for, I wandered over to the scraps of the lumber section- it was here where I came across a piece of pine... a perfect piece of pine. She was a beauty: 5.5 inches wide, 48 inches tall and nick free. Cue the light-bulb over my head.


Here is what transpired following that trip to Home Depot:


Making Frankie's growth chart really was quite easy- I divided the project into stages and tackled one at a time. This forced me not to rush (which I am prone to do when working on these sorts of things). From start to finish, it took me 3 weeks to complete and cost me just over $30 (Stain, paint, wood, stencils, oil based paint marker). Read on for the steps I took to make the chart.

Step 1) Sand on. Sand Off. 
Using fine sandpaper, I gently sanded the wood- concentrating on any ragged edges. Once done, I wiped the whole thing down with a damp rag to remove any dust or dirt. When the wood was completely dry, I applied a thin coat of stain- once that was dry (approximately 5 hours later), I applied a second coat. 
I used a two in one primer/stain. This not only saved me some time, but money too.

I opted to stain the back of the wood even though it will eventually be against the wall.  This step is optional, but I think it makes the finished product more "finished". I wrote Frankie a little Merry Christmas note on the back of the chart too.


Step 2) Make the mark(s)
Similar to the inch markers on a ruler,  the foot markers on the growth chart should be the most prominent. I used horizontal pieces of painter's tape and a basic 12 inch ruler to mark off where each line should go. 

Before painting, I placed a piece of painter's tape, longways, down the wood so that each foot line was the same length. 

After aggressively smoothing down the edges of the tape, I painted the markers (using white paint and a tiny paint brush that I already owned). Once the foot markers were dry, I repeated these steps for the half-foot and quarter-foot markers- just being sure to make the lines thinner and shorter than the ones I made right before.


Step 3) I wish I skipped this Step
In an effort to save a few pennies, I opted to create my own letter stencils. If and when I make another one of these charts, I will not be so over zealous and will buy stencils.


*** If you decide to make a growth chart AND go all gangbusters (read: make your own stencils), make sure you paint over them with your stain  (and let dry) before painting the letters with a colored paint. This bonds the edges to the wood and prevents the colored paint from seeping under the tape.

4) Get Your Paint On


This is the pointillism technique by way of q-tip....super advanced stuff :)


Here is what the chart looked like when the letters were dry, messy edges were cleaned up, and I recovered from my self-induced anxiety attack (DIYing stencils is not for those that are Type A)


5) Paint dem digits.
I bought number stencils and a white, oil based, paint pen to paint the numbers on the chart... at the
very last minute used the paint pen to outline the F R A N K I and E to help the letters pop and also used it to paint the note on the back of the chart that is pictured above.


6) Last but not Least 
I attached two clawed pictured hangers that I already owned to the top/back of the wood  and then wrapped it up to go under the tree! I tied a new oil based paint marker in the bow of the present so that my sister and BIL had something to mark the chart with as Frankie gets taller.


And there you have it, a DIY growth chart - Made with Love, Paid with Pennies style.