Monday, January 28, 2013

"custom" furniture part 2: spruced up credenza

I mentioned in my last post that my latest DIY project consisted of redoing two pieces of furniture for a mere $16 (minus hardware);however, I only wrote about one. My paint stick coffee table was free. Yep, $0.

Paint Sticks: Free
Stain: Already had
Gold Paint: Already had
Gorilla Glue: Already had
Polyurethane: Already had
Paint: Already had (left over from Annie's dresser).

The next item on my project to-do list was to spruce up the white credenza that my television sits on.

I really wanted to paint it a bold bright color...kelly green was my top choice...but, after I finished painting my coffee table, I decided I re-do my credenza to match it. This is where the $16 comes in...I needed another quart of paint. This was one of the first times that I needed paint and didn't go straight to the oops section

...but $16 was a small price to pay for a "custom" furniture look. Plus, I obviously love the color..I have used it on 3 other projects:


Anyway, take a look at the before picture of my credenza. I don't mind it being white, but it looked extra country to me, and I am not going for that look in my apartment. Plus, this thing has endured 4 moves in two years, it was looking a bit dingy.

I feel like a broken record when I post about painting furniture, but the steps really are super important if you want a nice, smooth finish. If you read this blog, then you know the next steps...


For those of you who don't know, Anthorpologie has the best (but unfortunately most expensive) knobs/hardware out there. I saw this knob on their website a month or so ago and fell in love with it. Despite it's $10 (per knob) price tag- I knew purchasing four was in my very near future...very un-madewithlove like, I know.

http://www.anthropologie.com/anthro/product/home-hardware/25039561.jsp

I love the way grey and gold compliment each other....and, the gold matches the hardware on my paint stick coffee table...worth the $40 if you ask me.

I replaced the old black hinges with gold ones (ringing in at $6) and then reassembled my freshly painted credenza.

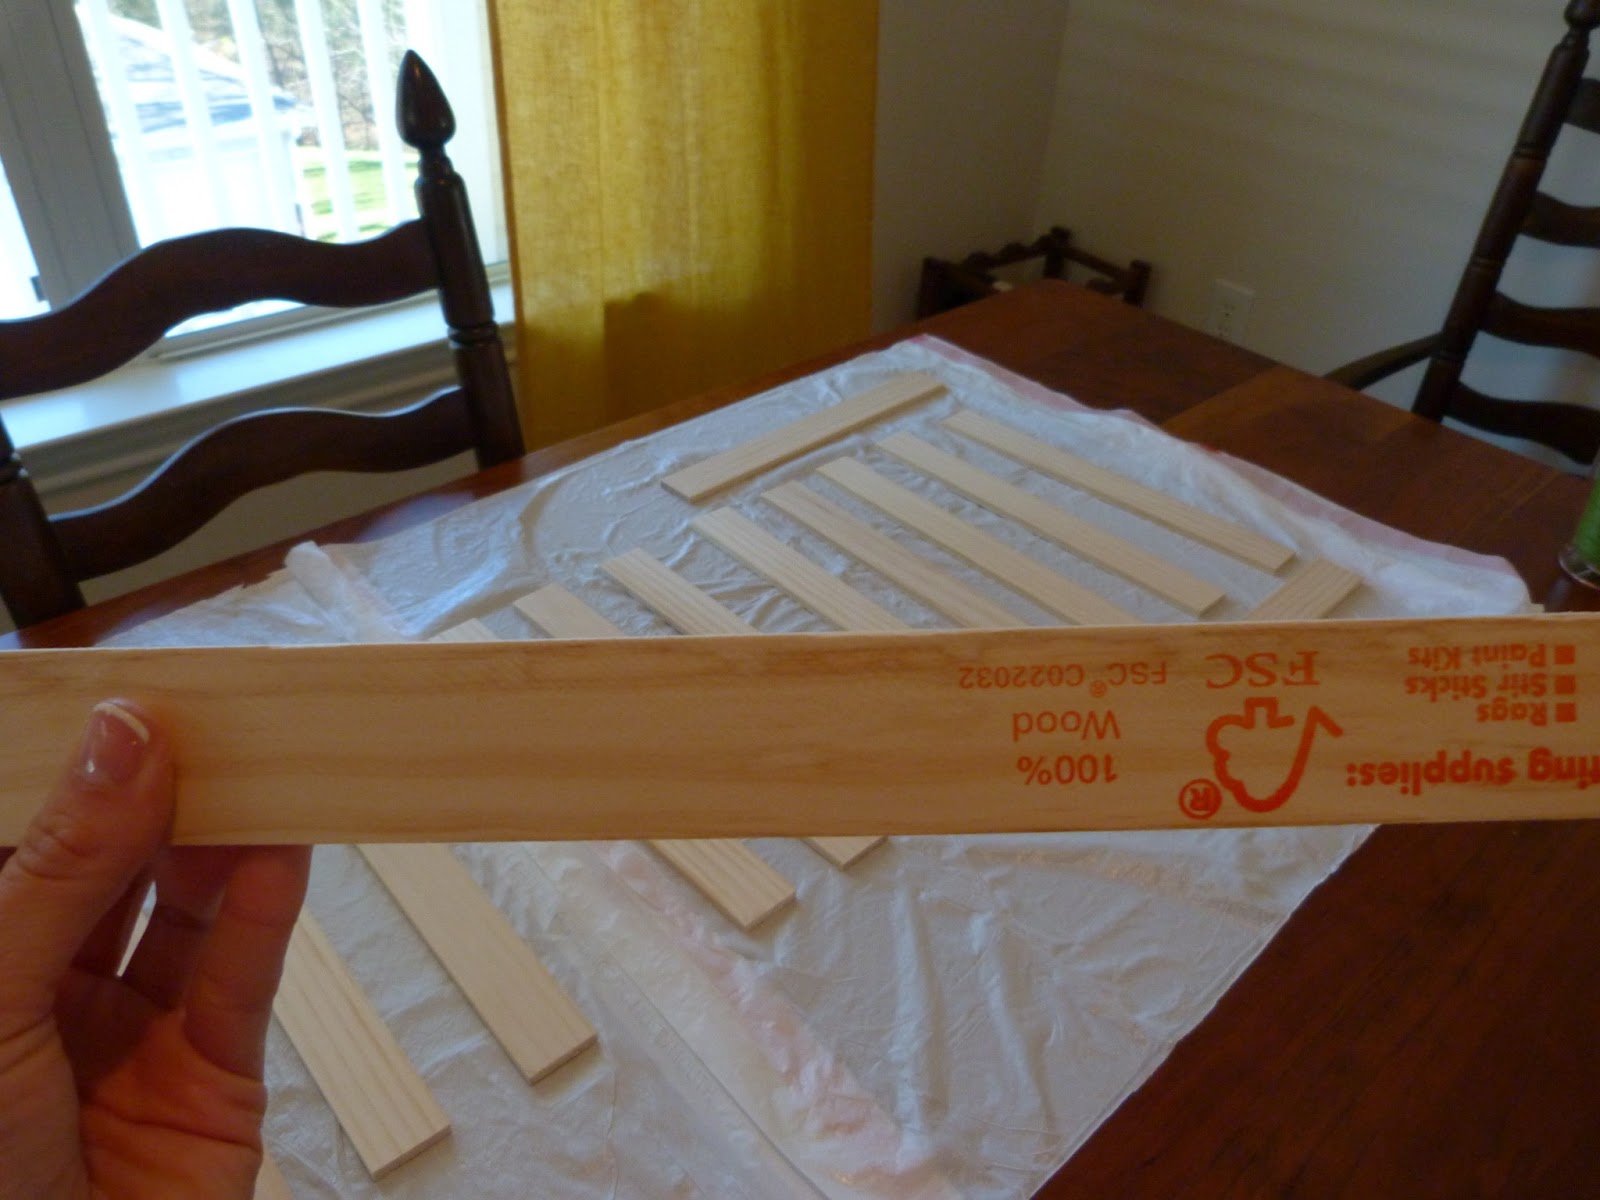
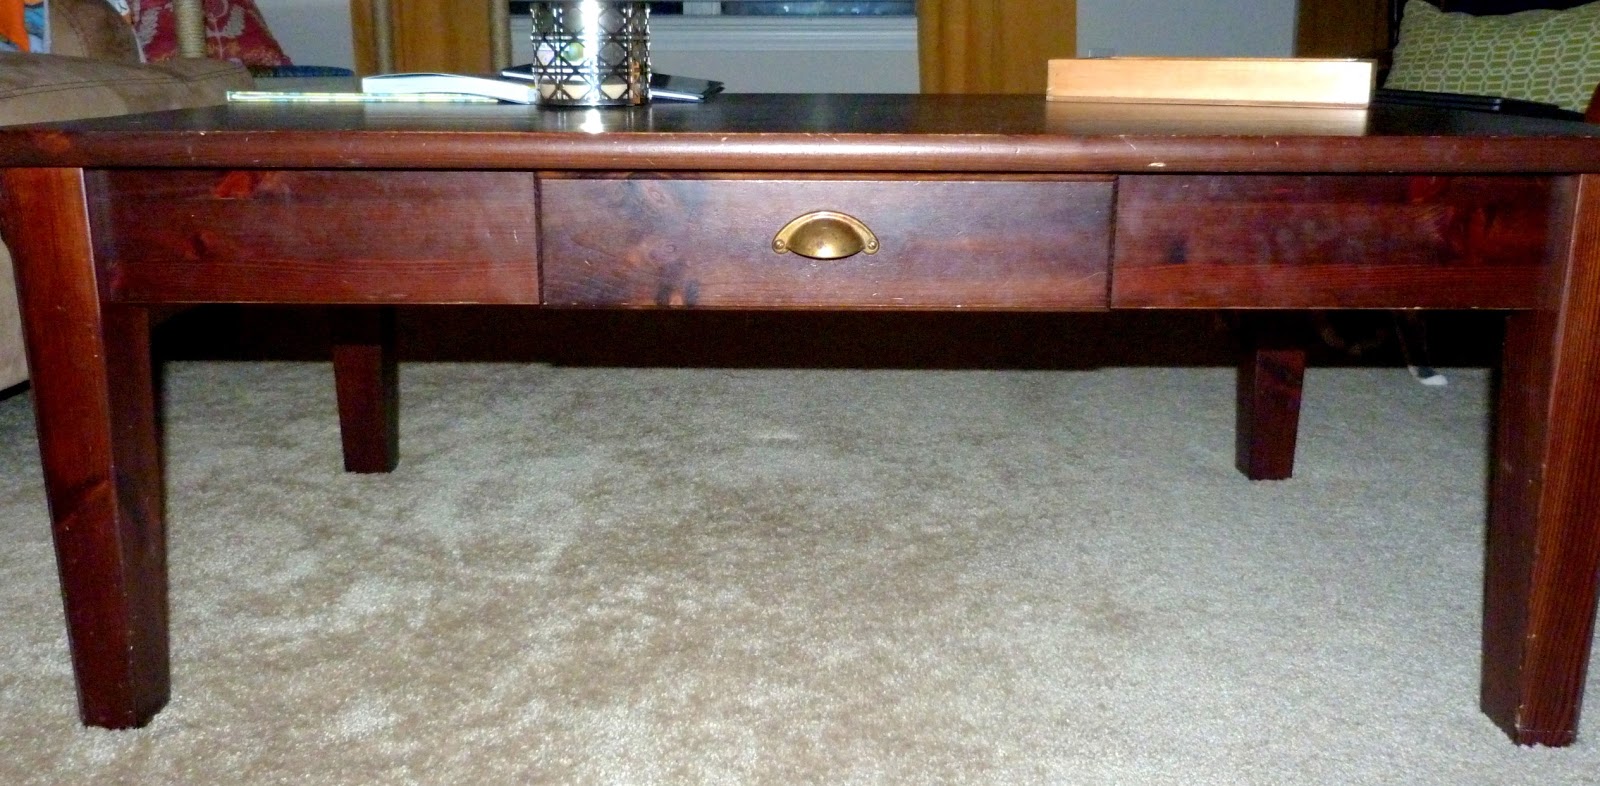
Just as I was about to take the after photos, I looked over to my left and saw a few paint sticks left over from my paint stick coffee table project...It was a matter of seconds before I was staining these few scrap paint sticks...here is a sneak peak of where I put them...

And finally the after:


And last but not least, a look at my newish "custom" furniture:


Friday, January 25, 2013

"custom" furniture part 1: Paint Stick Coffee Table

It's really easy to go into a furniture store, look at a matching furniture set, slap down your credit card, and have it delivered straight to your front door. Well friends, I don't like taking the easy way out, and I certainly don't like cutting into my clothes shopping budget!

I know, I know... I'm being a bit preachy, but it pains me to think of all the money people spend on decorating when my latest DIY project, 2 "custom" pieces of living room furniture, cost me $16 (not including new hardware) and part of a weekend.

The idea for this project started back when I spruced up a dresser for my friend Annie. We were at Home Depot picking out a paint color (Behr- Ash Grey in a satin finish) when I glanced at the massive orange bucket of free wooden paint stirrers. I ignored the lightbulb that went off in my head and promised myself that Annie's project had to come first. As soon as the last coat of polyurethane was brushed onto her dresser I bolted back to the paint dept.

The Home Depot employee looked at me like I grew horns right before his eyes when I asked him if I could take all of the paint sticks in that orange bucket plus any he may have had stored away...dispite my horns, he agreed.

My next stop was the cutting station in the back of the store, and when I told the HD employee that I wanted him to cut 45 + paint stirrers (some down to 10" and others to 7") he looked at me like I grew horns AND a third eye...but, he obliged.


So, here I am walking out of the store with a cart full of freshly cut paint sticks waving goodbye to the checkout guy that I have come to know, happy as a clam and not caring about the whispers around me about the girl with 3 eyes and horns.


Remember when I posted about my big dandelion painting? If not, you can see it here. I used this awesome wipe on stain to give the wood an older feel. It was the perfect color for my paint stick project.


While my paint sticks were drying I moved onto the next part of my project: priming my coffee table.


I love my coffee table- I snagged it off of Craigslist for $20 two years ago. It is solid wood and the perfect shape/size; but, it really needed some TLC.

Before I applied the first coat, I was pretty excited about my decision to paint the bottom half of my table metallic gold.... I envisioned a luxe/classy version of my craigslist find.


Unfortunately, after the second coat, I had a table that looked like it belonged to Mr. T.

Thinking that the gold would grow on me, I returned to my paint sticks. I arranged them on top of the table, alternating between the two sizes of sticks so that they were in a staggered pattern.

Once they were where I liked them, I went to town with some gorilla wood glue to secure them in place.


Once the gorilla glue dried, I applied 2 coats of polyurethane.

So...Here is the finished product the first time around:

I suppose the table looks a little less Mr. T ish with the slatted top and hardware; however, when I stood back and looked at it, I still wasn't thrilled. In some light it looked boring, country, and beige, and in other light it looked like it belonged in an Austin Powers movie. So being the crazy person that I am, I immediately started to sand and prime the table...again.

This time around, it was a bit more difficult because I had the wooden slats secured to the top of the table. I had to be extra careful not to get primer or paint on them.

I opted to paint the bottom of the table the same grey as Annie's dresser (mostly because I didn't want to spend money on new paint and hate it again).

I am so much happier with the way it looks now...what do you think?

It still has a little bit of gold (where it was too tough to paint without ruining my paint sticks), but I kind of like the way it matches the hardware (the original handle primed and painted).


Here is an up close look at the top of the table:


And last, but definitely not least...The Before:


and After:

Monday, January 7, 2013

Bedroom Re-Design for JMac

Goodness gracious I am exhausted. So tired that typing this is a bit taxing...but, I am super excited about this post, so I will push through :) 

I have spent the last 48 hours playing designer for a co-worker who is out of town on business. A few months ago, he asked me to build him a headboard (I love the fact that guys enjoy reading this blog just as much as girls!) and somehow that request morphed into a full blown bedroom re-design...and he is going to be surprised! He gave me no direction as to what he wanted his room to look like... he simply handed me his keys, a $700 check, and was off...

This was our conversation before he left for his trip...I had never seen his place, so I wanted to stop by and assess what I was working with....


This is what I found.

Yes, it's true. There is no frame under that bed and the TV is on something (still not sure what that something is) that is covered with a black sheet. Needless to say, I had my work cut out for me...hence my exhaustion mentioned above.

Without any input from JMac, I wanted to make sure the room I put together wasn't too much of one thing...not too modern, not too rustic, not to bold, not too plain. My goal was to design a room that appealed to all different tastes so that I didn't run in a direction that JMac wasn't fond of.

I used a clue from the shower curtain in his guest bath to come up with my color pallet-teal, black, grey, and tan. Luckily for me, these colors seem to be quite popular this season.

I did all of my shopping on Saturday, and all of the labor on Sunday. 

My Shopping List:
Bed Frame
Bedding
Curtain Rod and Curtains
Media Stand for TV
Picture Frames/Accessories
Material, Wood, & Mattress Pad for DIY headboard
New Nightstand (or materials to DIY one)
Hardware

In typical Made With Love, Paid with Pennies fashion- I was determined to find the best deals possible. Just because JMac gave me a $700 budget, didn't mean I had to spend every last bit of it.

This bed skirt was in the clearance section at Homegoods, and exactly what I was looking for! 

I also found two ottomans at Target for $17 each (in the 70% off clearance section)!! I wasn't sure what I was going to do with them until I was all finished with the room, but they are the perfect colors and tie everything together ( you can see them in the "after" photos below)

I DIYed a nightstand for less than $13 using a piece of wood from the As-Is section at (my favorite store) Home Depot, some black paint, and two corbels. (the photo below is obviously pre-paint and installation)

I even bargained with a mattress store associate for a bed frame. He wanted to charge me $85, I said "$60", and he said "okay"

I made all of the art in the room using Google and Microsoft Word.
JMac is a big UNC fan, so I made him this photo for one of his nightstands:

And just like what I did in my "Thirsty Thursday" post, I covered two standard white mats with fabric and framed the skyline of Atlanta (where he grew up) and of Charlotte (where he lives now).


Last, but most definitely not least, I successfully completed DIY Headboard #3.


To see how I finish and hang a DIY headboard, check out my first headboard post here.

All this, plus some, and here is what JMac will be coming home to:


From this...
To this...


I cannot wait to see/hear JMac's reaction! fingers crossed he likes everything! (PS...I was $125 under budget!)


**Update** 
I think he likes it!