Annie and I have been working to spruce up her new apartment...and we have made a lot of progress...
there are curtains hanging in every room, her old tupperware drawers have been replaced with a real dresser, pictures are up on the wall, throw pillows are on the couch...and now, she has a pretty awesome headboard that ties all the colors in her bedroom together and is the focal point of her room.
I started and finished this bad boy in less than 2 hours...and that is while drinking wine and stopping to chat every 3 minutes...it really is that easy.

Here is what you need to create your own:
Tools: Drill, staple gun, decorative tacks
Fabric: I used a shower curtain for my headboard and a full sized sheet from Target for Annie's.
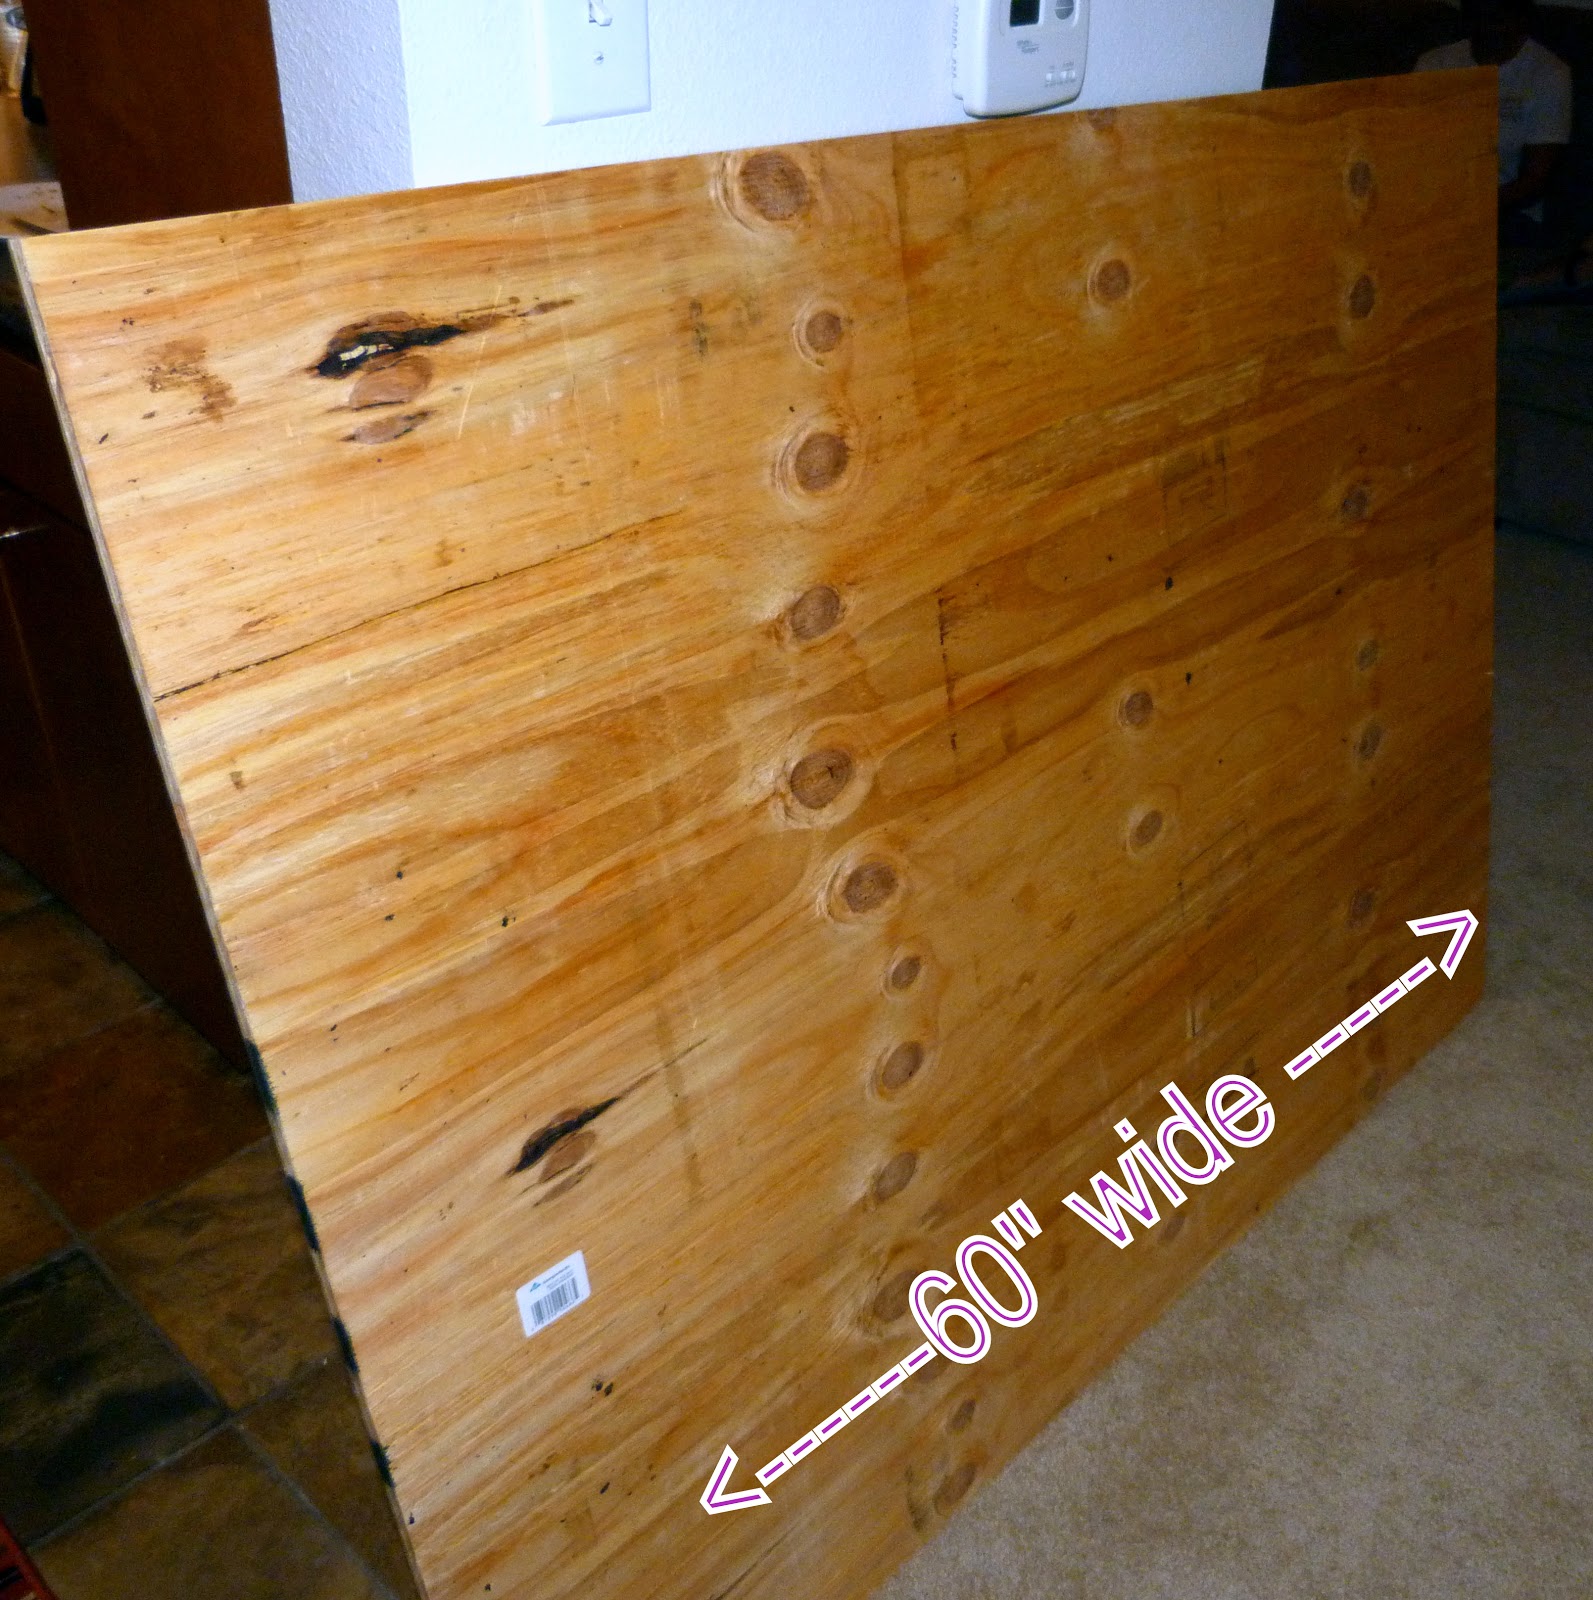
A piece of plywood (5/8" thick) cut to size (a queen sized bed is 60" wide)...a Home Depot employee will cut it for you for free.
A mattress pad (I call them egg crates)

Mollies/Screws to go into the wall and D-Rings to go on the back of the headboard.

And the steps...
1) lay your padding down onto the floor with the bumps (egg crate) facing up.
2) place your wood on top and in the middle of the padding

3) pull the edges of the padding that are sticking out from under the board so that the padding is stretched and smooth under the wood- use your staple gun to secure the padding to the wood. 

4) lift up your foam covered wood and lay your fabric on the floor (pretty side of the fabric and the floor should be touching)- place the wood on top and in the middle of the fabric. Pull the fabric so that it is taught and staple the fabric to the board just like you did the padding.
5) Make fake tufts...I wanted four rows of tufts and wanted a 4/5/4/5 pattern... I wanted each row to be 9 inches apart.
**So, to start, I measured down 9 inches from the top of the board and then used my yardstick and level to mark a spot every 12 inches going across. Once the first row of marks were made I used my staple gun to staple on top of each mark. Then, I hammered a decorative tack over the staples.
**The measurements for the second row are a bit different (5 tufts instead of 4). Similar to the first row, I measured down 9 inches, but instead of marking every 12 inches across, my first mark was only 6 inches in from the edge - then I measured 12 inches across from that 6" point.
**I repeated these steps for rows 3 and 4.

6) Screw D-Rings at the top of the back of your board (making sure they are at equal distances from the top and sides.
7) Use your yardstick and level to make a line on your wall (use pencil!). This line is where the top of your headboard will be. The line should be the same length as the distance between your D-Rings.
8) Screw your mollies into the wall and then screw your screws into your mollies.
9) Hang it up and enjoy!!
No comments:
Post a Comment